
VideoPopy Auto Mode vs Director Mode: Choose the Right Workflow and Control Every Breakout Clip
VideoPopy Auto Mode vs Director Mode is not a contest between a “basic” and an “advanced” button. It is a decision about where the creative judgment should live: with the guided generator for speed, or in your motion brief for control. This guide shows you how to choose, prompt, compare, troubleshoot, and review both workflows without pretending that either mode guarantees a perfect product video.
VideoPopy Auto Mode vs Director Mode: The Quick Answer
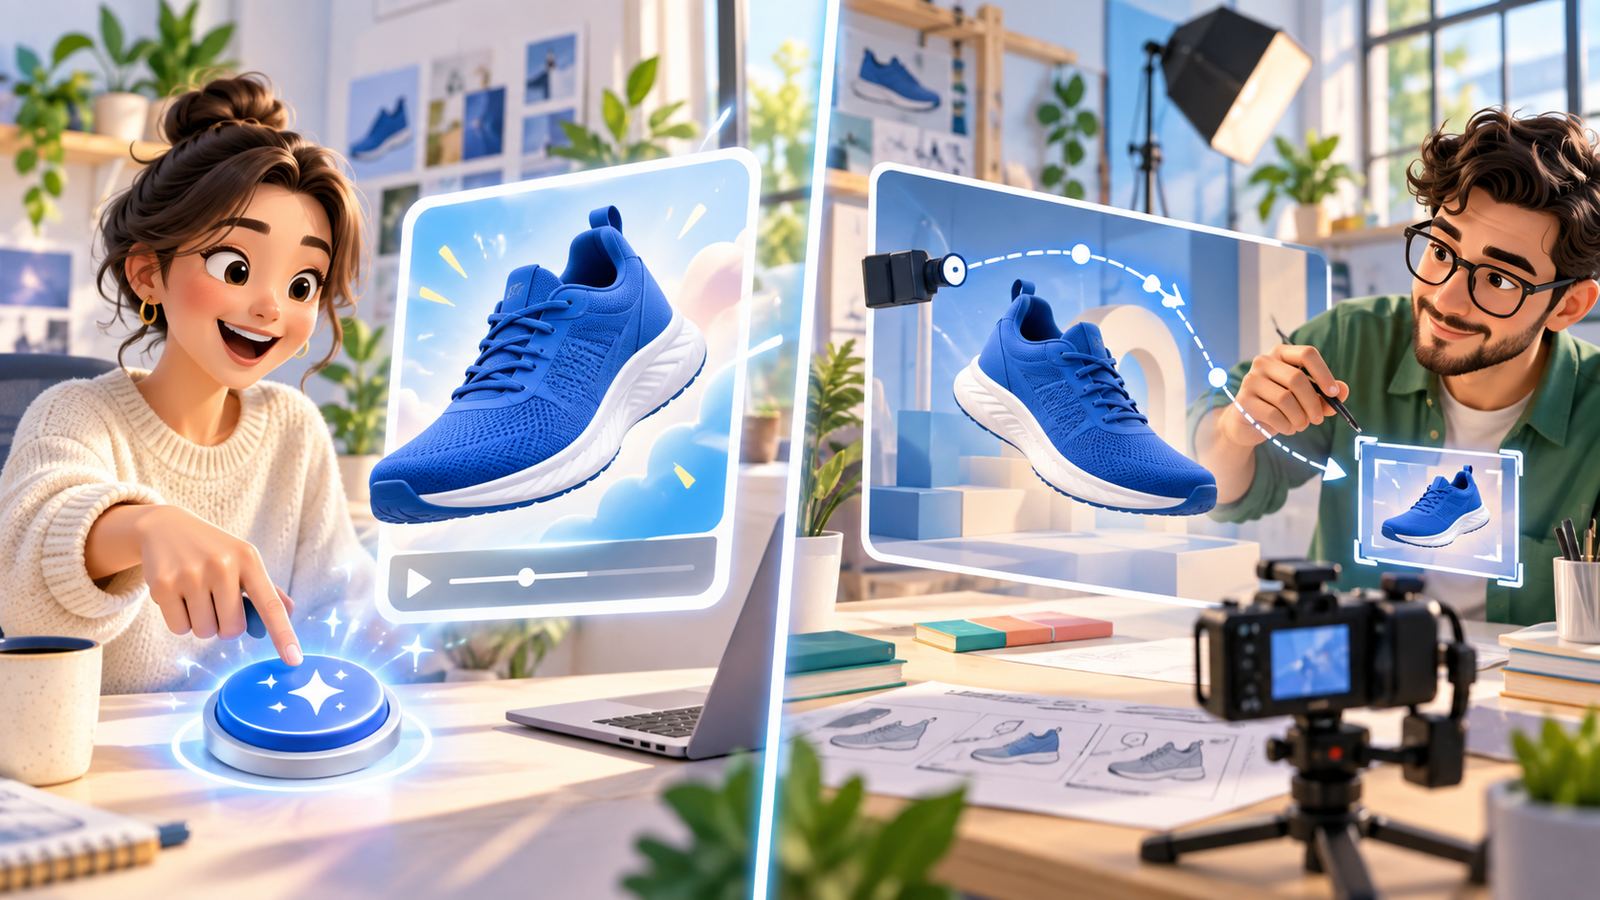
Use Auto Mode when you need a fast first draft, the exact motion is not central to the campaign, and you are willing to judge the result before deciding what to control. Use Director Mode when the subject must perform a particular action, cross the frame in a specific way, preserve a product-facing angle, or finish in a deliberate position that supports the next edit, caption, loop, or call to action.
The important distinction is not “beginner versus expert.” A skilled creator may use Auto Mode to explore unfamiliar concepts quickly. A first-time user may need Director Mode because a client has already approved an exact ending frame. The correct choice depends on the job the clip must do, the facts that cannot drift, and how expensive a failed draft would be for your workflow.
This guide is a focused companion to our broader VideoPopy review. The review covers pricing, features, alternatives, privacy, limitations, and who the tool suits. Here, we stay on one narrower question: how to choose and operate the two motion workflows without wasting useful source material, review time, or credits.
What Actually Changes Between Auto Mode and Director Mode?
VideoPopy describes a four-step path: describe an idea or upload a product photo, choose a platform and layout, craft the breakout, then download social-ready assets. At the third step, its official workflow page says Auto Mode handles the movement for you, while Director Mode lets you control how the subject moves and how the scene ends. That sounds simple, but it changes the kind of input you should prepare.
In Auto Mode, your most valuable inputs are a recognizable subject, a clear product truth, a useful platform format, and a single creative idea. You are asking the system to solve the motion problem. Your review question becomes: “Did the chosen motion make the subject clearer and more interesting without changing what the product is?”
In Director Mode, motion is part of your specification. You decide whether the subject rises, rotates, pushes forward, breaks through a boundary, hands an object toward the viewer, or settles into an ending composition. Your review question becomes: “Did the system follow the sequence and preserve the product while executing the intended camera-subject relationship?”
| Decision | Auto Mode | Director Mode |
|---|---|---|
| Who chooses the motion? | The guided system interprets the concept and chooses a breakout direction. | You describe the motion sequence and the desired ending. |
| Best starting input | One clear subject, clean source image, simple idea, chosen platform. | The same source truth plus ordered movement, camera behavior, boundary crossing, and final pose. |
| Best for | Exploration, quick drafts, low-risk organic concepts, discovering a usable direction. | Approved briefs, product-facing angles, handoffs, reveals, loop endings, repeatable variants. |
| Main risk | The motion may be visually attractive but wrong for the campaign job. | An overstuffed direction may cause confused motion, drift, or an unreadable ending. |
| Review priority | Does the result reveal a promising creative direction? | Did the result obey the important sequence and finish where required? |
| Iteration strategy | Promote a promising result into a more controlled brief. | Change one motion or ending instruction at a time. |
Neither mode removes the need for human review. VideoPopy's official materials position the product as a focused generator for short 3D breakout clips, not as proof that every visible label, product feature, claim, scale relationship, or synthetic person is accurate. The same caution applies to other image-to-video systems: a plausible frame can still misrepresent the approved product.
How to Choose VideoPopy Auto Mode or Director Mode
Choose the mode after writing the clip's job in one sentence. “Make a sneaker video” is not a job. “Create a fast organic concept that makes the sneaker feel energetic” is an exploration job. “End with the outer side of the approved sneaker facing the viewer and leave empty space above it for a price card added later” is a direction job.
You have a good source image and a broad visual goal, but you do not yet know which motion will make the subject feel strongest.
A stakeholder has approved a motion, orientation, handoff, frame break, or ending that the draft needs to respect.
Start in Auto to find a promising direction, then rebuild the winning idea in Director Mode with tighter constraints.
Auto Mode is especially useful when the creative risk is low. A creator making an organic teaser can accept a surprising interpretation if the product stays recognizable. It is also useful when the team needs several concept directions before writing a formal brief. The goal is not to publish the first result blindly. The goal is to learn which combination of subject, scene, format, and motion deserves a controlled second pass.
Director Mode becomes more valuable as the cost of ambiguity increases. Ecommerce teams may need the label facing forward. Agencies may need the subject to end inside a caption-safe area. A product launch may need the clip to stop on the same angle used in a campaign key visual. A loop may need the final frame to connect cleanly with the opening. These are not aesthetic preferences; they are production constraints.
One warning: do not choose Director Mode merely because it sounds more powerful. More instructions create more chances for conflict. A single five-second clip rarely needs a mini screenplay, three camera moves, two transformations, six objects, a logo reveal, a spoken line, falling particles, and a perfectly aligned ending. Control works when it reduces uncertainty, not when it converts a short clip into an impossible shot list.
A Practical VideoPopy Auto Mode Workflow
Auto Mode works best when you give it freedom inside a small, well-marked box. The mistake is assuming “automatic” means the input does not matter. In reality, a clean source and a clear creative job make automatic choices easier to judge. A vague prompt with a cluttered image does not become disciplined because a system chooses the motion.
Step 1: Write the product truth line
Before adding style, state what the output must preserve. For a shoe, that might be the cobalt color, white sole, low-top silhouette, and lack of visible branding. For a bottle, it might be the blue cap, cylindrical body, blank label area, and travel-size proportions. This truth line is both input and acceptance criterion. If the clip changes those details, the draft fails even if the motion looks exciting.
Step 2: Pick one communication job
Decide whether the clip should reveal the product, make it feel energetic, dramatize portability, introduce a launch, or create a visual bridge into another piece of content. Do not ask one short generation to reveal the product, explain four benefits, simulate a testimonial, compare a competitor, and end on a discount. VideoPopy's focused breakout format is strongest when one subject and one motion carry the idea.
Step 3: Choose the destination before generation
VideoPopy supports layouts for Reels, Instagram, Shorts, LinkedIn, and Facebook according to its official pages. Pick the destination early because a vertical clip has different safe areas from a square or landscape post. The product needs room to cross the visual boundary without placing a critical label under platform controls or cropping the most recognizable part of the object.
Step 4: Let Auto Mode propose the motion
Generate a controlled first draft. The official workflow says users can select one, two, or four outputs at no extra cost, but verify the current interface and credit display before confirming a generation because product policies can change. If you request multiple outputs, treat them as alternative interpretations of the same brief, not as a reason to change the source image and campaign idea simultaneously.
Step 5: Review with a fixed checklist
- Can a viewer identify the product in the first moment?
- Does the shape, color, packaging, label area, and visible material remain faithful to the source?
- Does the chosen motion support the communication job?
- Is the breakout moment legible at phone-feed size?
- Does the ending leave a usable composition?
- Is any generated text inaccurate, unreadable, or unnecessary?
- Does the clip imply a performance result, endorsement, scale, or claim the source material does not support?
If the creative direction is promising but the ending is not usable, that is a strong signal to move the concept into Director Mode. Auto Mode has completed its job: it found a motion idea worth controlling.
A Practical VideoPopy Director Mode Tutorial
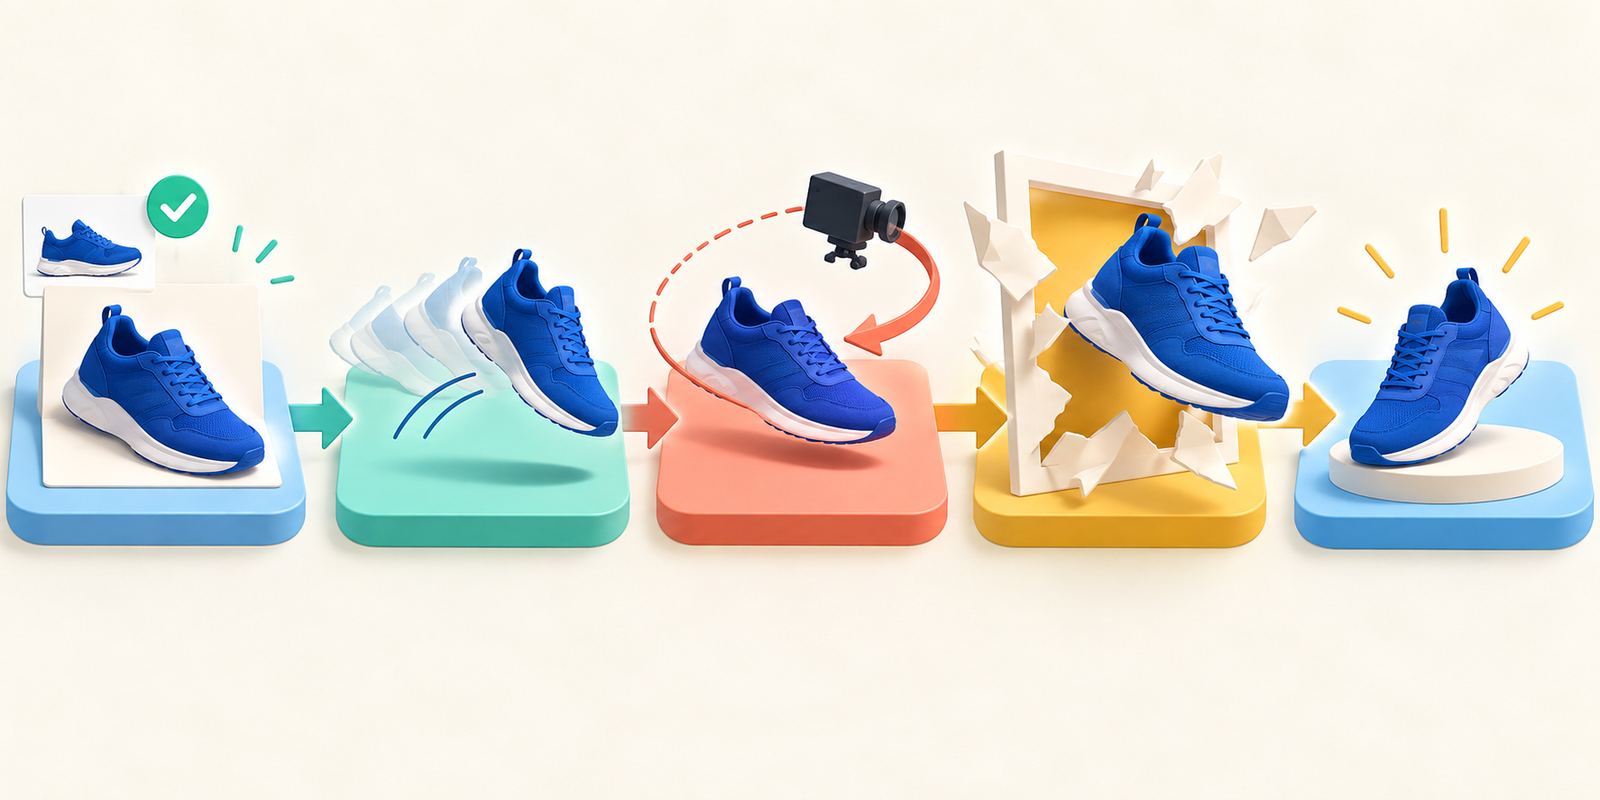
Director Mode should read like a short production note, not a bag of adjectives. The official description says it controls how the subject moves and how the scene ends. Build the direction around those two promises. Give the system an ordered physical action, a camera relationship, a clear frame boundary, and a stable finish.
1. Product truth: what cannot change
Begin with the approved reference. Name the features a reviewer can actually compare: product type, color, silhouette, packaging structure, visible label area, important accessories, and scale cues. Avoid marketing adjectives at this stage. “Premium” and “innovative” do not tell the model which physical details must survive motion.
2. Subject motion: one primary verb
Choose one main movement: rises, slides, rotates, pushes forward, opens, offers, or settles. One action can include a natural start and stop, but it should not contain an entire montage. Recent community discussions about AI video repeatedly emphasize that complex, layered actions increase inconsistency. That observation is not a measured VideoPopy benchmark, but it is a sensible production constraint for a short generated clip.
3. Camera: describe its relationship to the subject
Use one camera behavior unless a second is essential. “Camera stays fixed while the sneaker moves forward” is clear. “Camera makes a slight push-in as the bottle rises” is still manageable. “Orbit, zoom, tilt, pan, whip, and rack focus while the product transforms” creates competing instructions and makes it difficult to diagnose why the output failed.
4. Breakout boundary: say what crosses the frame
A breakout clip needs a readable moment when the subject appears to cross a flat boundary. Name the object or part that leads the movement and keep it consistent with the product. A shoe may move toe-first. A bottle may rise and push its cap beyond the card edge. A character may extend one hand toward the viewer. Avoid asking the entire scene to explode through multiple borders unless chaos is the intended, reviewable result.
5. Ending frame: write the final picture
The ending is the most under-specified part of many AI video prompts. State where the subject stops, which face remains visible, how much of the frame it occupies, and where empty space should remain. An ending such as “settles centered, outer side visible, all product edges inside the safe area, empty upper-left space for editorial copy added later” gives the reviewer a concrete target.
VideoPopy Director Mode Prompt Templates
These templates are production starting points, not claims of guaranteed behavior. Replace bracketed details with verified product facts. Keep the source image and truth line stable while changing one motion variable at a time.
Controlled product reveal
This pattern is useful when the product itself is the hook. The fixed camera makes subject motion easier to read, and the ending creates a predictable handoff for an editor. If the first draft changes product detail, simplify the scene before adding more constraints.
Slow rotation for visible detail
Rotation is risky when the source image shows only one face. The model may have to imagine hidden geometry. Use a small turn, provide a better reference when possible, or choose a forward move that does not expose an unknown side. A visually smooth invented label is still an inaccurate product representation.
Viewer handoff
A handoff can create a strong feeling of participation, but hands and labels are frequent failure points in generative media. Inspect individual frames. If a synthetic person could be mistaken for a real endorser, use appropriate disclosure and avoid testimonial-style language the campaign cannot substantiate.
Loop-ready breakout
A loop prompt must serve two frames at once: the dramatic breakout and the quiet reset. If a clean loop matters, favor simple geometry and a stable camera. A complex camera move may look impressive in isolation but make the transition back to the opening visibly jump.
Prompt editing rules that make failures easier to diagnose
- Put product truth before style language.
- Use one primary subject and one primary action.
- Name the camera behavior once and keep it physically compatible with the subject motion.
- Describe the exact boundary the subject crosses.
- Write the ending as a still frame a reviewer could approve.
- Use negative constraints for common additions: new text, badges, extra products, people, claims, or accessories.
- Change one meaningful variable between variants.
- Save the source, prompt, platform, mode, output, and review note together.
How to Compare Auto Mode and Director Mode Fairly
A fair comparison holds the source truth and destination constant. If the Auto draft uses a clean front-facing packshot for a vertical Reel while the Director draft uses a lifestyle crop for a square LinkedIn post, the result tells you little about the modes. It compares two different briefs.
Start with one approved source image, one platform layout, one duration, one product truth line, and one creative job. Generate an Auto interpretation. Then write a Director prompt that expresses the same job without copying every accidental detail from the Auto output. The Director version should control only the motion and ending you care about.
| Keep constant | Why | Record after each draft |
|---|---|---|
| Source image | Prevents image quality or angle from masquerading as a mode difference. | Filename, approval status, crop, visible product details. |
| Product truth line | Both outputs should be judged against the same factual standard. | Pass, partial pass, or reject with the exact drift noted. |
| Platform and aspect ratio | Crop and safe-area behavior change the usefulness of an ending. | Readability at mobile size and overlay conflicts. |
| Communication job | A reveal should not be compared with a feature demo. | Whether the clip makes the intended idea understandable. |
| Review checklist | Consistent criteria prevent reviewers from choosing only the flashier result. | Product accuracy, motion clarity, ending usability, claims, rights. |
Do not declare one mode “better” from a single pair. Generative output varies. Instead, ask which workflow produced a reviewable direction with fewer ambiguous decisions. Auto may win for exploration because it generates an idea you would not have written. Director may win for delivery because the ending matches the brief. Both outcomes can be correct.
If you want a small test set, the public workflow states that one, two, or four outputs can be selected at no extra cost. Confirm the current product interface before relying on that statement, then use the smallest batch that answers your question. Four loosely related outputs create more reviewing, not necessarily more learning.
Troubleshooting VideoPopy Auto and Director Mode
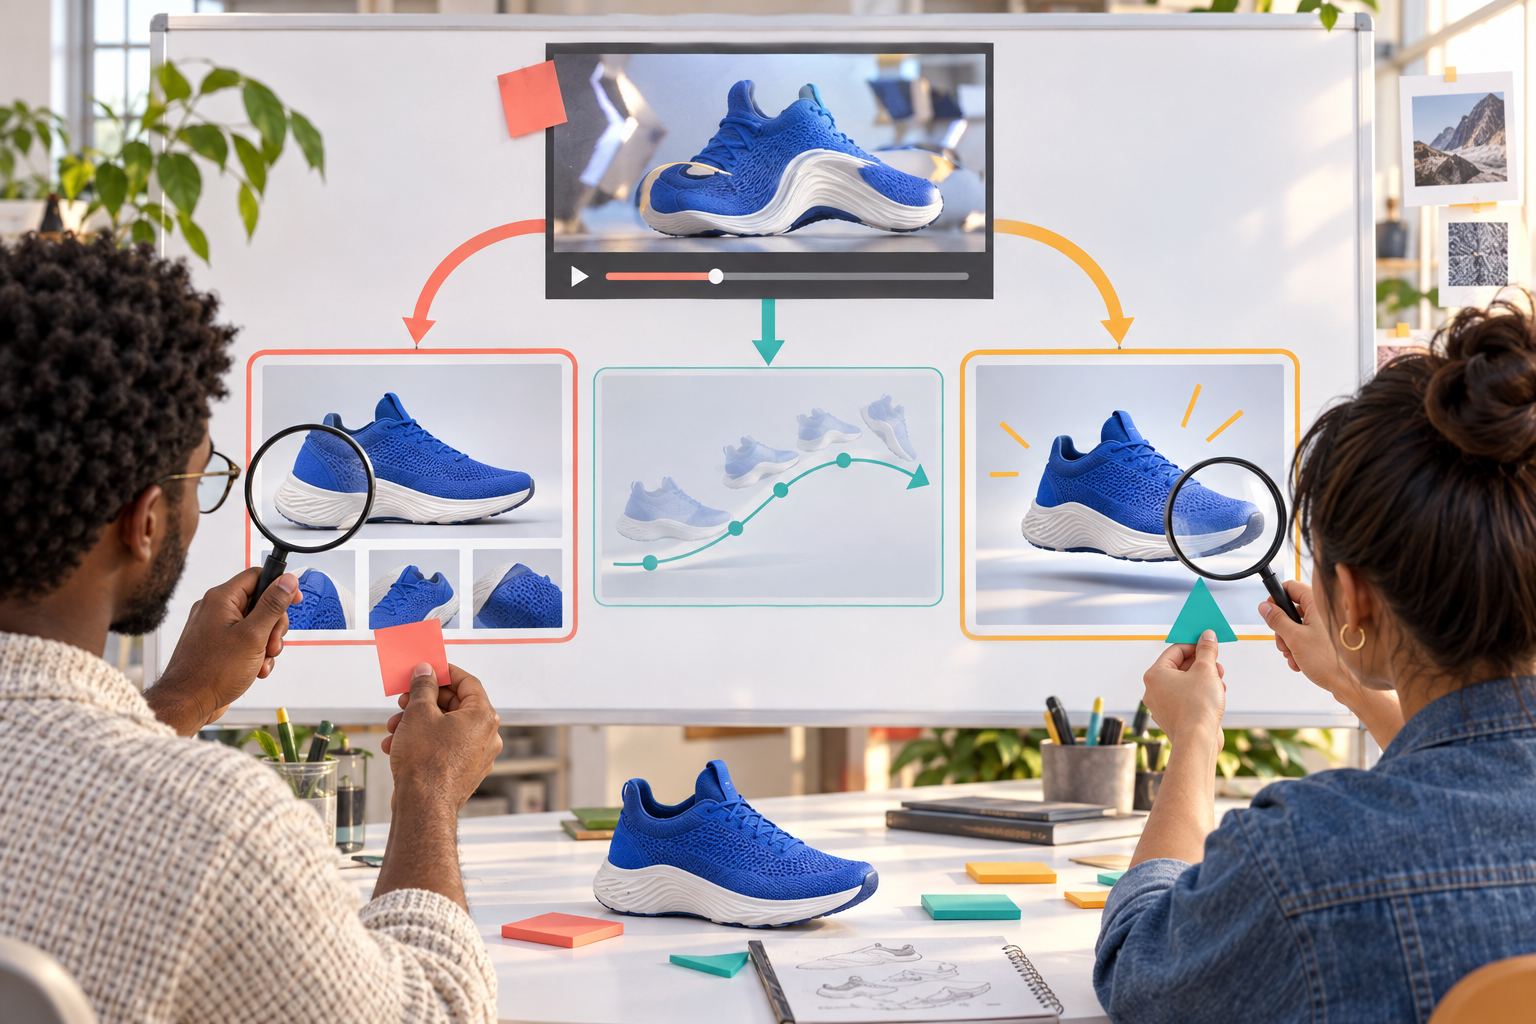
When a draft fails, resist the urge to rewrite everything. First identify whether the failure began with the source, the direction, the mode choice, or the review expectation. A generation can be technically polished and still fail the campaign because it hides the product, changes the wrong detail, or ends in an unusable crop.
| Symptom | Likely cause | Best next move |
|---|---|---|
| Product changes color, shape, or packaging | Weak reference, hidden details, excessive motion, or scene complexity. | Use a cleaner source, restate visible invariants, reduce rotation, remove competing objects. |
| Clip looks good but feels unrelated to the campaign | Auto exploration had no single communication job. | Keep the useful motion, then rebuild in Director Mode around the approved job. |
| Director output tries to perform everything at once | Too many actions or conflicting camera instructions. | Keep one subject verb, one camera behavior, one boundary crossing, and one ending. |
| Ending is cropped or leaves no space for copy | The final frame was described vaguely or the platform layout changed. | Name position, orientation, scale, and safe area; confirm platform before generating. |
| Label becomes unreadable during rotation | The motion exposes information not present in the source or moves too quickly. | Use a smaller turn, slower motion, front-facing finish, and add text later in an editor. |
| Every remix produces the same problem | The source or core brief is wrong, not the random variation. | Stop spending credits; repair the reference or simplify the idea before another remix. |
| Output contains invented text or claims | The model filled an ambiguous area or the prompt invited unsupported marketing. | Forbid generated text and claims; add verified copy in post-production. |
| Motion is timid and never reads as breakout | The boundary and leading object were not specified. | Name what crosses which edge and where the subject stops relative to the frame. |
If product drift is the problem
Do not begin by adding ten negative prompts. Check whether the source image shows the important shape and edges. A product touching every border has little motion space. A lifestyle shot with hands, props, glare, and shallow focus asks the model to separate several overlapping objects. A single front view cannot reveal a hidden side accurately. Better evidence often beats more wording.
Our multimodal prompt guide explains the general value of separating reference truth from motion instructions, while the scene extension guide shows why continuity depends on preserving anchors between generations. The products differ, but the production lesson transfers: decide what is fixed before asking a model to invent movement.
If the motion is the problem
Simplify the physical sequence. Replace “the sneaker rockets forward, spins twice, explodes into particles, reassembles, orbits the frame, and lands beside a runner” with “the sneaker rises, moves toe-first through the lower frame edge, and settles side-on.” If the simple version works, add one controlled flourish in the next variant.
If the ending is the problem
Write the ending without verbs, as though you are describing a still image: “The bottle is centered, cap visible, front label facing camera, all edges inside the vertical safe area, empty space above.” Then connect the motion to that destination. Ending control is the clearest reason to choose Director Mode over another Auto remix.
How to Test Modes Without Wasting VideoPopy Credits
VideoPopy's official pricing page states that $1 equals 10 credits and that a typical five-second 3D breakout clip costs about four credits. It also warns that actual usage can vary with settings, duration, resolution, and optional AI steps. Treat those numbers as current public estimates, not a promise that every test will cost the same.
The meaningful metric is cost per approved draft, not cost per raw generation. If a cheap output cannot be published because the product changed, the ending is unusable, or the claim is misleading, its production value is zero. Track the total credits used to reach a reviewable asset, including remixes and rejected variants.
- Use free starter credits to validate the workflow, not the entire campaign. Test one source image and one narrow job.
- Generate the smallest informative batch. Do not request more variants than your team can compare using the same checklist.
- Stop after repeated identical failures. Three warped variants usually signal an input or brief problem, not bad luck that another credit purchase will fix.
- Move from Auto to Director only with a reason. Name the motion or ending you are taking control of.
- Change one variable at a time. A new source, background, camera, product angle, duration, format, and caption in one test destroys the learning.
- Store the successful recipe. Save the prompt, source, mode, platform, duration, output, and reviewer note so the next clip begins from evidence.
If credit planning is central to your purchase decision, compare this focused guide with the broader Google Flow and Veo credits guide. Different products count usage differently, but the durable habit is the same: measure usable outcomes rather than advertised generation units.
Review Every Breakout Clip Before Publishing
AI-generated product video can communicate claims through imagery even when no claim appears as text. A bottle bursting through ice may imply cold retention. A shoe launching from a track may imply performance. A cosmetic transforming a face may imply a result. Review the visual promise against the landing page and approved evidence, not just the caption.
The U.S. Federal Trade Commission's advertising guidance emphasizes truthful, non-deceptive advertising and evidence for objective claims. Requirements vary by region and campaign, so involve the appropriate legal or policy owner when claims, endorsements, regulated products, synthetic people, or paid distribution raise risk.
- Compare several frames with the approved product image and current product page.
- Reject invented labels, badges, discounts, ingredients, results, or accessories.
- Confirm that product scale and physical behavior do not mislead.
- Check the chosen social crop at actual mobile size.
- Keep important information outside platform overlay areas.
- Add accurate captions for speech and make the core idea understandable without sound.
- Avoid rapid flashing or motion that creates accessibility problems.
- Confirm rights for uploaded photos, music, voices, people, logos, and supporting assets.
- Keep a record of the source, prompt, mode, output, reviewer, and approval decision.
For a broader product-level assessment—including ownership, security claims, alternatives, and buying risks—return to the full VideoPopy review. If your workflow needs a more general platform overview, the earlier VideoPopy 3D breakout guide covers the effect and overall creation flow.
Mode Recommendations for Common VideoPopy Use Cases
Organic product teaser
Start with Auto Mode when the objective is to find a surprising but recognizable hook. Keep the product truth line short and review the output at feed size. If one interpretation creates a strong opening, recreate it in Director Mode only when you need a cleaner finish or repeatable variant.
Paid ecommerce ad test
Use Director Mode when the breakout motion itself is the test variable. Hold the source image, offer, landing page, audience, and claim language constant. Review product accuracy before launch. A flashy visual should not introduce an unapproved product benefit or imply that an AI-generated demonstration is real evidence.
Client-approved agency concept
Use Director Mode after converting the client brief into a product truth line, one motion, one camera behavior, and one ending. Agree on rejection criteria before generation. If the client has not selected a motion direction yet, use Auto Mode internally for concept discovery, but label outputs as drafts rather than approved production assets.
Short-form educational clip
Auto Mode can work when an object or icon simply needs a visual lift. Director Mode is better when the object must stop beside a reserved text area or hand off to a specific next scene. Add factual educational text in an editor instead of asking the generator to render dense labels.
Launch hero reused across platforms
Choose Director Mode because the product orientation and ending need to survive multiple crops. Design the motion around the strictest safe area, then inspect each platform export. A single beautiful vertical result may not translate automatically to square, portrait feed, and landscape placements.
Portfolio or pitch asset
Use whichever mode produces a truthful demonstration of the creative capability, but disclose when the visual is AI generated if the context could confuse viewers. For a different kind of visual presentation workflow, our PortfolioVideo review explores AI-assisted portfolios and pitch decks.
A Repeatable Auto-to-Director Production Plan
The most useful workflow is often sequential rather than exclusive. Auto Mode and Director Mode can serve different stages of one production process.
- Prepare: choose an approved source image, write the product truth line, select the platform, and define one communication job.
- Explore: use Auto Mode for a small set of motion interpretations.
- Review: reject product drift and select only the direction that makes the subject clearer.
- Translate: describe the winning motion in plain ordered language, including the boundary and ending.
- Control: rebuild the direction in Director Mode while keeping the source and product truth constant.
- Diagnose: if it fails, change only the source, motion, camera, boundary, or ending—not all five.
- Approve: inspect product truth, claims, rights, accessibility, crop, and destination-page match.
- Record: save the recipe and calculate credits per approved draft.
- Adapt: create platform variants only after the master motion is approved.
This process turns Auto Mode into a creative scout and Director Mode into a production tool. It also creates a paper trail for decisions. When the next product behaves differently, you can compare source quality, product geometry, motion type, and ending rather than beginning from guesswork.
The same discipline appears across useful AI workflows on AI Feature Drop. In our NotebookLM cinematic video overview guide, strong source preparation determines whether automation produces a useful narrative. In our video overview comparison, the right tool depends on the output job. VideoPopy's mode choice follows the same principle: select the workflow that matches the decision you need to control.
Final Recommendation
Start with Auto Mode when the motion is still a question. Start with Director Mode when the motion or ending is already an answer the asset must deliver. Do not treat Auto as careless or Director as automatically superior. Auto is efficient creative exploration; Director is explicit motion specification.
For most first-time VideoPopy users, the lowest-friction path is one clean source, one simple Auto draft, and a strict review. If the result is useful but not controllable enough, write down what you want to preserve and what must change, then move into Director Mode. If the source product drifts, fix the evidence before expanding the prompt. If the motion becomes confused, remove actions. If the ending fails, describe a still frame.
The durable advantage is not learning a magic prompt. It is learning how to separate product truth, creative motion, camera behavior, frame boundary, and ending composition. Once those decisions are visible, you can choose the right mode, diagnose failures faster, and make each credit teach you something about the next clip.
Continue the AI Video Workflow
- VideoPopy Review — pricing, fit, limitations, policies, alternatives, and buying risks.
- Complete VideoPopy 3D Breakout Guide — broader effect and workflow coverage.
- Multimodal Prompt Guide — structure references, motion, and constraints.
- AI Scene Extension Guide — preserve continuity across generated motion.
- Google Flow and Veo Credits Explained — plan AI video generation costs.
- NotebookLM Cinematic Video Overviews — turn sources into structured video narratives.
- NotebookLM Video Overviews Comparison — choose workflows by output job.
- PortfolioVideo Review — compare a different AI-assisted visual storytelling workflow.
Sources and Research Notes
- VideoPopy: How it works
- VideoPopy: Pay-as-you-go pricing
- VideoPopy: 3D breakout examples and prompt recipes
- VideoPopy: 3D breakout video ads guide
- VideoPopy: AI video creative testing for ecommerce
- U.S. FTC: Advertising and marketing basics
- Google Merchant Center: Image requirements and best practices
Research combined current official product pages, recent public community discussions, Google search-result review, AI Feature Drop GA4 data, limited available Search Console data, and the latest published pillar article. We found no independent controlled benchmark of VideoPopy Auto Mode versus Director Mode, so this guide makes no universal success-rate or quality claim.
Frequently Asked Questions
What is the difference between VideoPopy Auto Mode and Director Mode?
Auto Mode chooses the breakout motion for you, making it useful for quick concepts and creative exploration. Director Mode lets you specify how the subject moves and how the scene ends, making it better for approved motion, product orientation, caption-safe composition, loops, and repeatable variants.
Should beginners use Auto Mode first?
Often, yes, because Auto Mode can reveal a useful creative direction without requiring a detailed motion brief. But a beginner should use Director Mode when the task already has a strict ending, product angle, or client-approved movement. The job determines the mode, not experience level.
How do I write a VideoPopy Director Mode prompt?
Use five parts in order: product truth, one primary subject motion, one camera behavior, the frame boundary the subject crosses, and a still-image description of the ending. Add negative constraints for invented text, extra objects, unsupported claims, or product details that must not appear.
How can I reduce product drift in a VideoPopy clip?
Start with a sharp, approved source image that clearly shows product edges and important details. State the visible invariants, simplify the scene, avoid exposing hidden sides, use slower or smaller rotations, and reject outputs that change the SKU, packaging, color, shape, label, or claims.
Which camera movement is safest for a product breakout video?
A fixed camera with one clear subject movement is usually easiest to review. A gentle push-in can also work. Avoid combining orbit, zoom, pan, tilt, and rapid subject transformations in one short prompt because conflicting motion makes failures harder to diagnose.
How many variants should I generate?
Generate the smallest number that answers a named question. A control and one clean variant may be enough. If you request multiple outputs, keep the source, platform, product truth, and communication job constant so the comparison produces a useful lesson.
Does Director Mode always use fewer credits because it is more precise?
No public independent benchmark supports that claim. A precise brief may reduce avoidable retries, but an overcomplicated direction can also create failures. Track your actual total credits per approved draft and confirm the current credit display before each generation.
What should I check before publishing a VideoPopy result?
Check product fidelity, labels, scale, claims, rights, synthetic people, platform crop, overlay-safe areas, accessibility, caption accuracy, destination-page consistency, and whether the visual implies a result the business cannot support. Save the source, prompt, mode, output, and approval record.
Post a Comment