
How to Prepare Sources for NotebookLM Video Overviews
NotebookLM Video Overviews are only as useful as the sources you give them. This practical guide shows how to clean, organize, prompt, review, and reuse your sources so the generated video is clearer, more accurate, and easier to share.
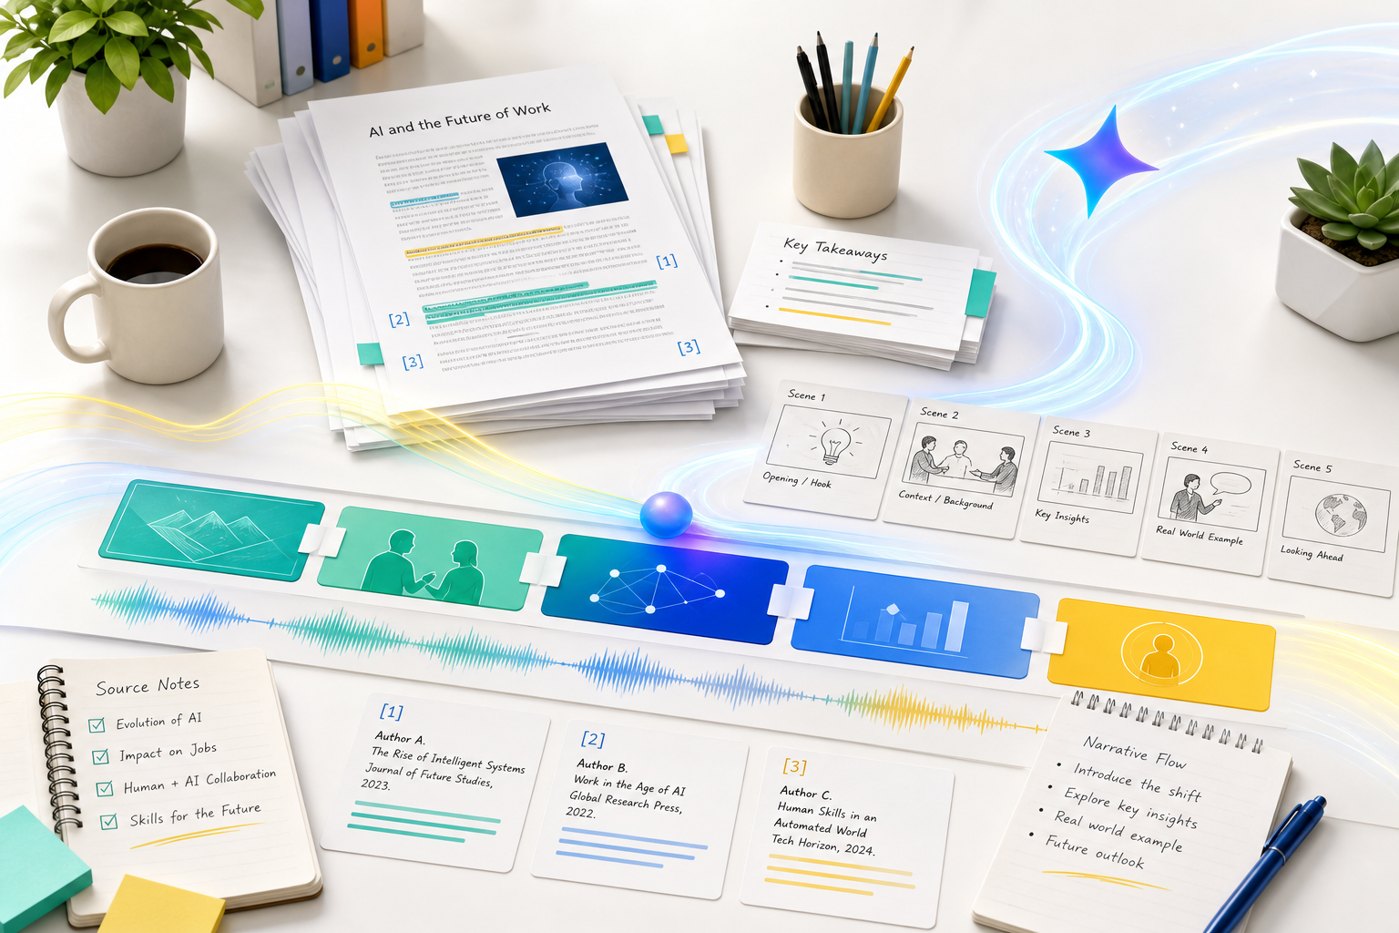
Quick answer: the best NotebookLM Video Overview comes from a curated notebook, not a big dump of files
To prepare sources for NotebookLM Video Overviews, upload a focused set of current, non-conflicting sources, add a short orientation note, label the important documents, and use a custom prompt that tells NotebookLM the audience, learning goal, expertise level, focus topics, and facts to prioritize. After generation, review the video against the original sources before you share or download it.
This cluster guide supports our broader pillar article, NotebookLM Cinematic Video Overviews Explained, which covers what changed, who can access the feature, and when it is worth using. Here, the focus is narrower: how to make the source notebook good enough for a useful video output.
NotebookLM has become one of the most interesting AI research tools because it does not ask you to start from a blank prompt. It asks you to start with sources. That difference matters even more for Video Overviews and Cinematic Video Overviews. A chat answer can be corrected quickly. A video overview has structure, narration, visuals, pacing, and implied emphasis. If the notebook contains outdated PDFs, contradictory drafts, irrelevant web pages, duplicated reports, or unlabeled source material, the video may still look polished while telling the wrong story.
Google describes Video Overviews as a way to transform the sources in your notebook into an engaging video. Google’s earlier Video Overview rollout positioned the feature as a visual alternative to Audio Overviews, especially useful for explaining data, processes, diagrams, abstract concepts, and complex source material. The newer Cinematic Video Overviews go further, with Google saying Gemini acts like a creative director that makes structural and stylistic decisions based on your sources. That is powerful, but it also means the preparation stage carries more weight.
The practical question is not simply “Can NotebookLM make a video from my files?” The better question is “Have I given NotebookLM a notebook that makes the right story obvious?” This guide answers that question with a repeatable preparation workflow, source checklist, custom prompt templates, and review method you can use before making a customer training video, classroom explainer, executive briefing, research summary, or internal enablement asset.
Why source preparation matters more for Video Overviews than ordinary summaries
A standard AI summary usually has one job: condense text. A Video Overview has several jobs at once. It must choose the narrative arc, identify visual moments, decide which details deserve screen time, translate dense material into simple language, and avoid overemphasizing throwaway details. If the source set is messy, those decisions become harder.
Think of NotebookLM as a highly capable editor entering a room full of documents. If the room contains a clean brief, the latest research paper, two approved slides, and a glossary, the editor can quickly identify the story. If the room contains every old draft, three unrelated PDFs, screenshots without context, duplicated notes, and a twenty-page transcript full of tangents, the editor can still produce something, but the output is more likely to be generic or uneven.
Source preparation improves four things:
It also improves review speed. When a video is based on ten well-labeled sources instead of a random pile, you can trace claims back to source names, check them quickly, and decide whether the output is safe to share.
The NotebookLM source checklist: what to include before generating a Video Overview
Google Help explains that NotebookLM uses the sources you upload or import into a notebook, and that sources are static copies. It also notes source limits: a source can contain up to 500,000 words or 200MB, and a notebook can include up to 50 sources. Those limits are generous enough that many users over-upload. Do not confuse capacity with quality. A better rule is: include only what the video needs to teach the audience.
1. Add one orientation document
Create a short document named something obvious, such as 00-video-brief. This document should explain the audience, objective, desired tone, must-cover points, forbidden claims, and source hierarchy. It does not need to be long. In many cases, 300 to 700 words is enough.
2. Include the latest approved source for every major claim
If you are making a training video about a product feature, use the latest documentation, pricing page, release note, approved one-pager, or internal enablement deck. If you include older versions, label them clearly as historical context. Otherwise, NotebookLM may treat stale information as equally important.
3. Add definitions and glossary terms
Video explanations often fail when they assume the viewer already knows specialist language. A glossary gives the model permission to define terms clearly. This is especially useful for research papers, developer documentation, legal policies, scientific concepts, and enterprise workflows.
4. Include examples, not just theory
A Video Overview becomes more useful when the source set contains concrete examples: a sample workflow, before-and-after comparison, short case study, timeline, diagram, FAQ, or table. Examples are raw material for visual explanation.
5. Remove duplicate drafts and contradictions
If two sources disagree, decide which one wins before you generate the video. Do not hope the model will infer your version-control logic. Add a note that says “use this source as current” or remove the stale document entirely.
6. Use source names that mean something
A file named final_FINAL_v7.pdf is not useful context. Rename sources before upload where possible. Use names like 2026-product-pricing-approved, customer-support-faq-march, or research-paper-methods-section.
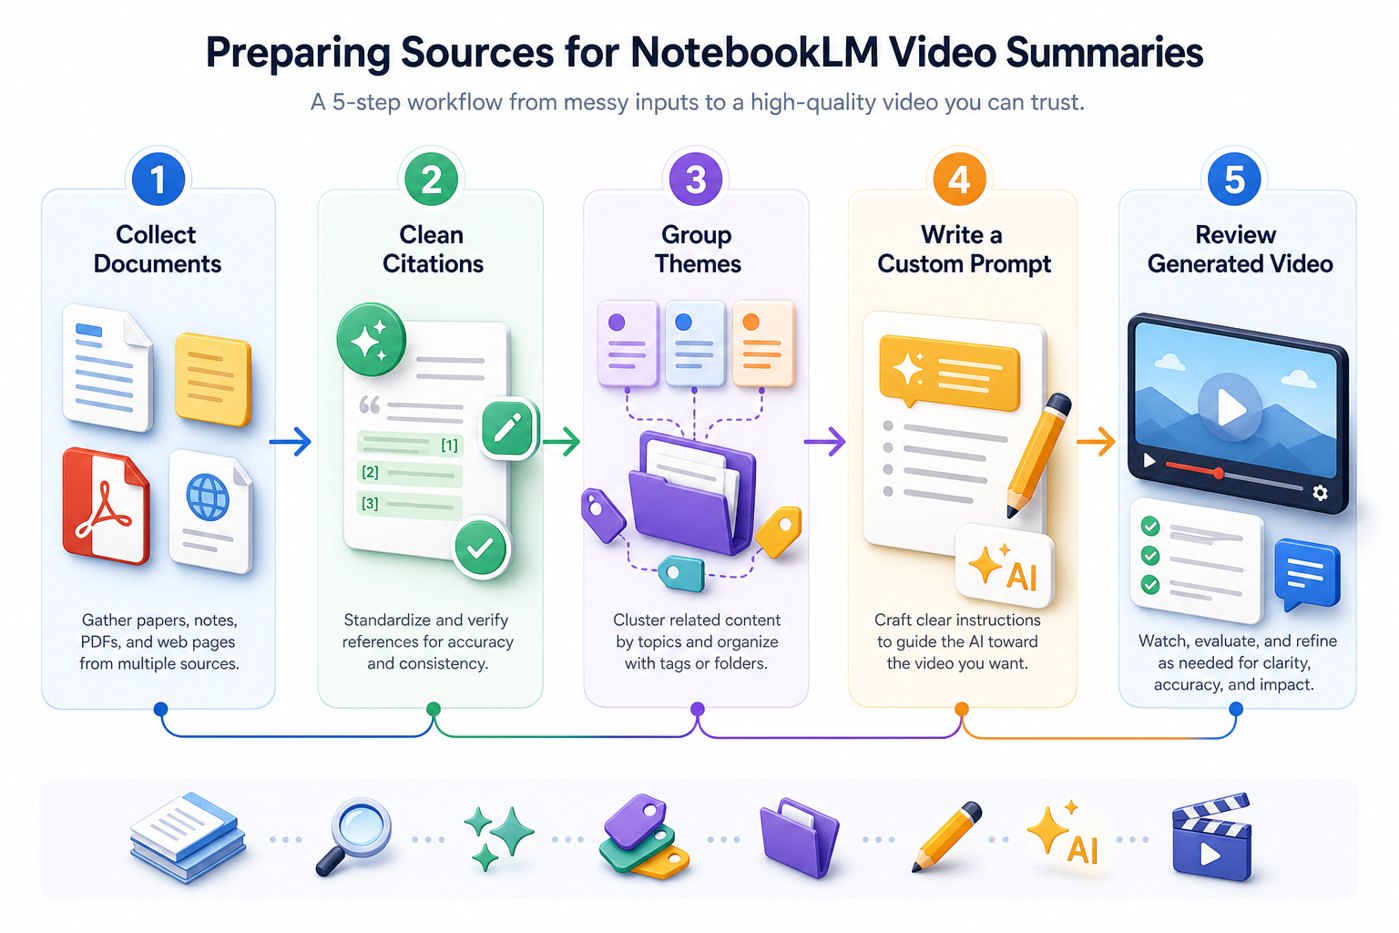
A five-step workflow for better NotebookLM Video Overviews
The easiest mistake is to jump straight from upload to generation. A better workflow takes a few minutes longer but saves far more time during review.
Step 1: define the video job in one sentence
Before adding files, write one sentence: “This Video Overview should help [audience] understand [topic] so they can [action].” If you cannot finish that sentence, the notebook is not ready. This sentence becomes the north star for source selection and custom prompting.
Step 2: sort sources into “core,” “supporting,” and “exclude”
Core sources contain facts the video must use. Supporting sources add examples, quotes, diagrams, or context. Exclude sources are interesting but not relevant to this video. If you are not sure where a source belongs, ask whether a viewer would miss anything important if it were removed. If not, exclude it.
Step 3: create a source map
A source map is a short note that tells NotebookLM why each source is in the notebook. It can be simple:
This small document helps the model understand hierarchy. It also helps the human reviewer understand why a claim may have appeared in the video.
Step 4: generate a narrower first version
Do not ask for the perfect final overview on the first attempt. Ask for a focused version: one audience, one learning goal, one level of expertise. NotebookLM’s Video Overview customization options are designed for this type of instruction. Google’s own examples for Video Overviews include tailoring focus topics, learning goals, target audience, and expertise level.
Step 5: review the output before sharing
After generation, watch the video with the source map open. Flag any unsupported claim, outdated phrase, unclear visual, missing caveat, or overbroad conclusion. Then revise the source set or prompt and regenerate if needed. Treat the first version as a draft, not a publish-ready asset.
NotebookLM Video Overview prompt examples you can copy and adapt
Prompting does not replace source preparation. It tells NotebookLM how to use the preparation you already did. The strongest prompts are specific about audience, objective, coverage, constraints, and review criteria.
Prompt template for a beginner explainer
Prompt template for an executive briefing
Prompt template for a classroom lesson
Prompt template for a technical walkthrough
Prompt template for marketing or customer education
These prompts work because they do not merely say “summarize my sources.” They define the job. That gives NotebookLM fewer ambiguous decisions to make.
Common mistakes that weaken NotebookLM Video Overviews
Most disappointing Video Overviews are not caused by the video tool itself. They are caused by unclear source strategy. Watch for these mistakes before you hit generate.
| Mistake | What happens | Better fix |
|---|---|---|
| Uploading every related file | The video becomes broad, shallow, or distracted by minor details. | Choose 5-12 high-value sources for one audience and goal. |
| Keeping old drafts | NotebookLM may mention outdated pricing, product behavior, or terminology. | Remove old drafts or label them clearly as historical background. |
| No orientation brief | The model has to guess the audience, tone, priorities, and exclusions. | Add a short 00-video-brief with hierarchy and constraints. |
| Missing examples | The video may explain abstract concepts without memorable visuals. | Add case studies, diagrams, process steps, screenshots you have rights to use, or sample scenarios. |
| Contradictory sources | The output may blend incompatible facts into a polished but incorrect narrative. | Resolve contradictions before generation and state which source is authoritative. |
| No post-generation review | Unsupported claims or missing caveats may be shared externally. | Use a review checklist and verify claims against source names. |
A useful mental model is “source hygiene before style.” Cinematic visuals are valuable only if the underlying story is accurate. If the foundation is weak, a prettier video can make the problem worse because viewers are more likely to trust it.
Best source sets by use case
Different Video Overview goals require different source recipes. Use the table below as a starting point.
| Use case | Best sources to include | Prompt emphasis | Review risk |
|---|---|---|---|
| Product training | Approved docs, release notes, FAQ, workflow diagram, glossary | Explain what changed, who it helps, and how to use it safely | Outdated feature behavior or overpromising |
| Research paper explainer | Paper PDF, methods notes, figures, related glossary, critique notes | Define terms, explain method, separate findings from speculation | Misstating limitations or causality |
| Executive briefing | One-page brief, metrics source, risk memo, market context | Decision context, trade-offs, and next action | Missing caveats that affect decisions |
| Classroom lesson | Curriculum notes, reading excerpt, examples, quiz questions, glossary | Beginner level, analogy, recap, learning objectives | Too much jargon or missing prerequisite context |
| Customer education | Public docs, approved messaging, support FAQ, terms or policy notes | Clear expectations, practical value, limitations | Privacy, compliance, or unsupported marketing claims |
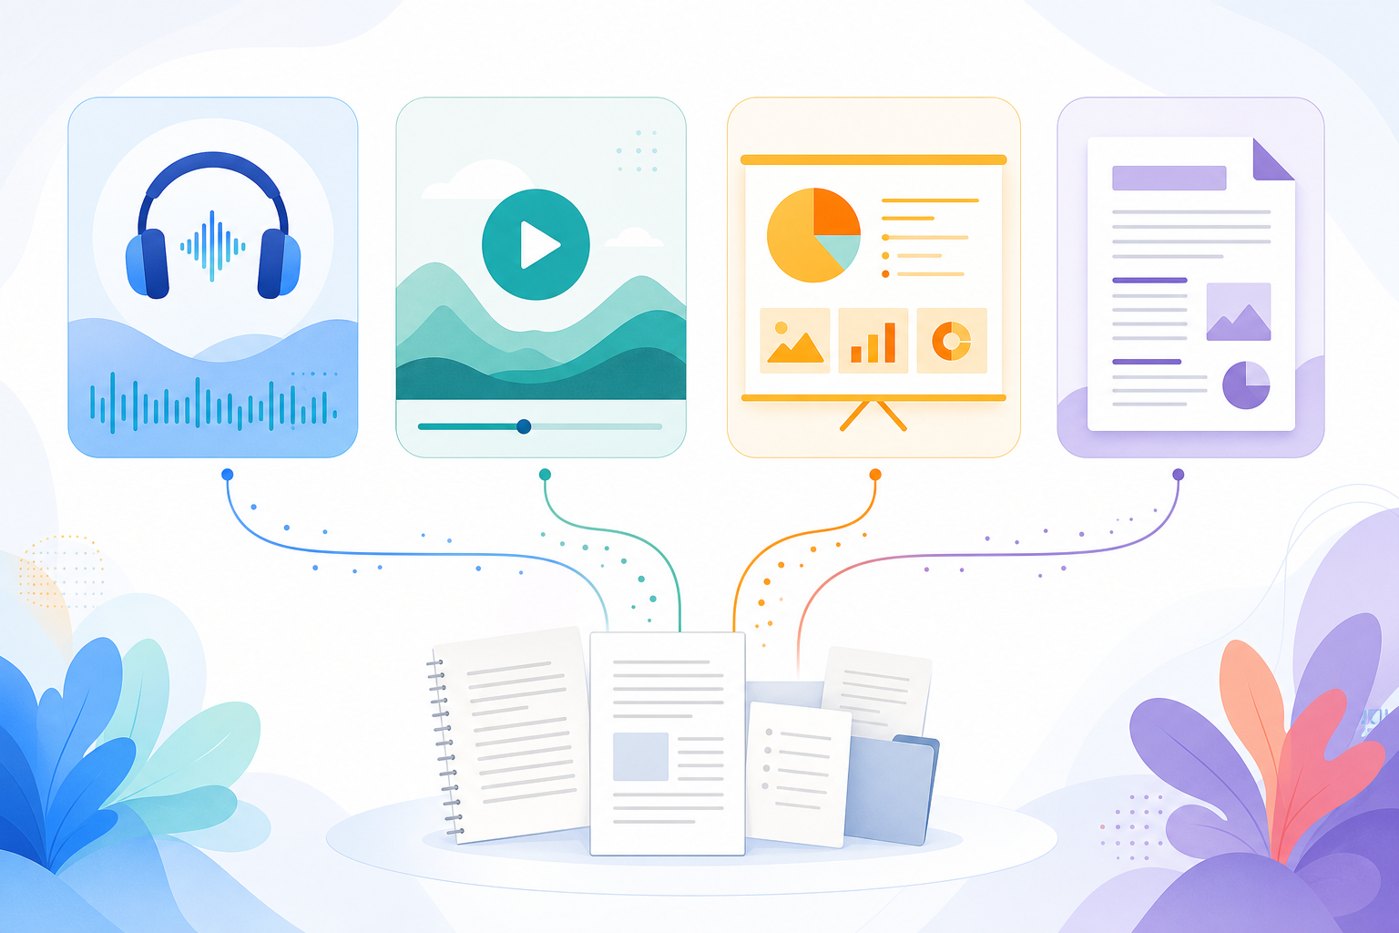
The quality review checklist before you share or download a Video Overview
Google Help notes that users can share a Video Overview by link, share the entire notebook, or download the video. That flexibility is useful, but it also makes review discipline important. Use this checklist before a Video Overview leaves your workspace.
Audience fit
- Does the video match the intended audience’s expertise level?
- Does it explain necessary terms before using them?
- Does it focus on the promised learning objective instead of wandering?
Fact check
- Can every important claim be traced to a current source?
- Are numbers, dates, availability details, and limitations correct?
- Did the video accidentally combine two separate ideas into one inaccurate claim?
Rights, privacy, and compliance review
- Do you have permission to use the source material in a video output?
- Does the video reveal internal, private, regulated, or customer-sensitive information?
- Do you need an AI-generated content disclosure or review from legal, compliance, or brand teams?
Next action clarity
A good overview should end with a clear next step: read the full documentation, practice a workflow, ask a reviewer, compare options, or open the related NotebookLM source notebook. If the ending feels vague, update the source brief or custom prompt and try again.
When to use NotebookLM Video Overviews versus Audio Overviews, slide decks, or reports
Video is not always the best output. It is best when visuals genuinely help the learner. Use Video Overviews for processes, diagrams, timelines, data points, visual analogies, and executive explainers where attention and clarity matter. Use Audio Overviews when the audience will listen while multitasking or when you want conversational exploration. Use slide decks when a human presenter needs control over each slide. Use reports when precision, citations, and skimmable detail matter more than narrative.
This choice matters because it changes the source preparation. For video, include visual examples and concise narrative structure. For audio, include discussion prompts and contrasting viewpoints. For slides, include headings, charts, and section outlines. For reports, include detailed evidence and citations.
Recommended next reading on AI Feature Drop
If you are still evaluating whether Cinematic Video Overviews are worth using, start with the broader pillar guide: NotebookLM Cinematic Video Overviews Explained. If your workflow uses source-grounded retrieval or AI-assisted research more broadly, you may also find these AI Feature Drop guides useful:
- Gemini API File Search Multimodal RAG for understanding source-grounded AI workflows.
- ChatGPT for Excel and Google Sheets for turning messy source material into structured analysis.
- Claude Code CLAUDE.md Template for a different example of how source and instruction hygiene improves AI output.
FAQ: preparing sources for NotebookLM Video Overviews
What is the most important source to add?
The most important source is a short orientation brief that explains the audience, goal, source hierarchy, required points, and claims to avoid. It tells NotebookLM how to use the rest of the notebook.
Should I include more sources to make the video better?
Not necessarily. More sources help only when they add relevant evidence, examples, or context. Too many loosely related files can make the video less focused.
Can NotebookLM handle long source files?
Google Help says each source can contain up to 500,000 words or 200MB for uploaded files, and a notebook can include up to 50 sources. Check current Google Help for the latest limits, because product limits can change.
What should I remove before generating a video?
Remove outdated drafts, duplicate files, unrelated background reading, contradictory materials, low-quality transcripts, and any source you do not have permission to use in the intended context.
How do I make the video less generic?
Use a custom prompt that names the audience, learning goal, expertise level, focus topics, source names to prioritize, and examples to include. Add concrete examples and diagrams to the source set.
Do I need to fact-check the output?
Yes. Even source-grounded AI outputs should be reviewed. Check important claims, dates, numbers, limitations, and compliance-sensitive statements against the original sources.
Sources and further reading
- Google Help: Generate Video Overviews in NotebookLM
- Google Help: Add or discover new sources for your notebook
- Google Blog: Generate your own Cinematic Video Overviews in NotebookLM
- Google Blog: Video Overviews and upgraded Studio
- Google Workspace Updates: New ways to customize and interact with NotebookLM
Bottom line: prepare the story before asking NotebookLM to make the video
NotebookLM Video Overviews can turn complex sources into a more accessible learning asset, but the tool cannot read your mind. The best results come from a focused source set, an explicit brief, a clear custom prompt, and a careful review loop. If you treat the notebook like a production brief instead of a file dump, the generated video is more likely to be accurate, useful, and worth sharing.
Use this article as a repeatable pre-flight checklist. Define the audience. Curate the sources. Resolve contradictions. Add examples. Prompt with intent. Review before sharing. That workflow will improve ordinary Video Overviews today and should matter even more as Cinematic Video Overviews become a bigger part of Google’s AI learning ecosystem.
Post a Comment